Thursday, 15 September 2016

Dwarfish Soviet Socialist Republic - DSSR

The DSSR was established after the last king of the Dwarves was lost in a mining “accident” 800 years ago. After a long and extensive examination of political science and organisations across time, space and parallel universes the Dwarves settled on Socialism as Karl Marx had a great beard and was pretty short as well.

So now, instead of the King sitting on a great pile of gold in the Great Hall and telling everyone how wealthy he was, the Politburo sits on the gold and tells everyone how wealthy the DSSR is. The Great Hall used to be known as the Great Hall of Kings but was renamed after the last king died and none of his relatives came forward to take the throne (probably because they were unavoidably detained chained upside down in deep dungeons).

The Dwarves elect the Politburo every six years by a show of acclamation in the Great Hall of the Dwarves. The army has always been on hand to lead the acclamation in each of the elections in the 800 years since the establishment of the rule of the Soviet. And in all of that period no Politburo has ever been voted off. In fact the same families have been leading since then. It must be a great system with that sort of record.

The Politburo organises the dwarves into work teams who manage the different industries, mining, industrial research, manufacturing and a bit of agriculture. Unlike the rule of the Kings, the Dwarves now own everything together and live happily in their grottos underground. The flag of their freedom is blood red with the crossed wrench and hammer symbolising mining and manufacturing.

The size of the grottos depend on the responsibility of the Dwarf and naturally the Politburo and army have the largest and most elaborate. Many a humble dwarf spends what little free time he has working on making improvements to the leadership team’s grottos. The leadership team’s grottos now exceed the old Kings’ in their size and the artwork that adorns them.

Of course not every dwarf agrees with this state of affairs and the Politburo gives them the opportunity to come to their senses and feed their families by fighting in the penal battalion of the army.

The Army

The Glorious DSSR Army


The rock core of the dwarf army is its hammer and axe men who form its spine along with the General’s Command.

The General's element, first amongst equals with the banner of the DSSR a crossed Hammer and Wrench


The heroes of the revolutions fight to preserve it from the evil capitalist imperialists running dogs


The Hammer Men


Next are the shooters - organised into crossbows and guns.

The Gun line


Cross bow men


Then are the flyers of the Army.
The Airboat contains a rough and tumble crew ready for any eventuality. The Airboat is kept aloft by a supply of anti-gravitarium which the dwarves mine from deep underground.

The Airboat Karl Marx and its crew 


Then there are the balloon Dwarves who float around the battlefield and descend on their victims.

A balloon Dwarf - a viscous and unexpected attacking force,


Finally are the fast attack of the Army. Two great behemoths that are forged in the dark industrial wasteland factories of the dwarves by their largest company Mordor Mining and Manufacturing. The great vehicles march across the battlefield and crush all before them. 

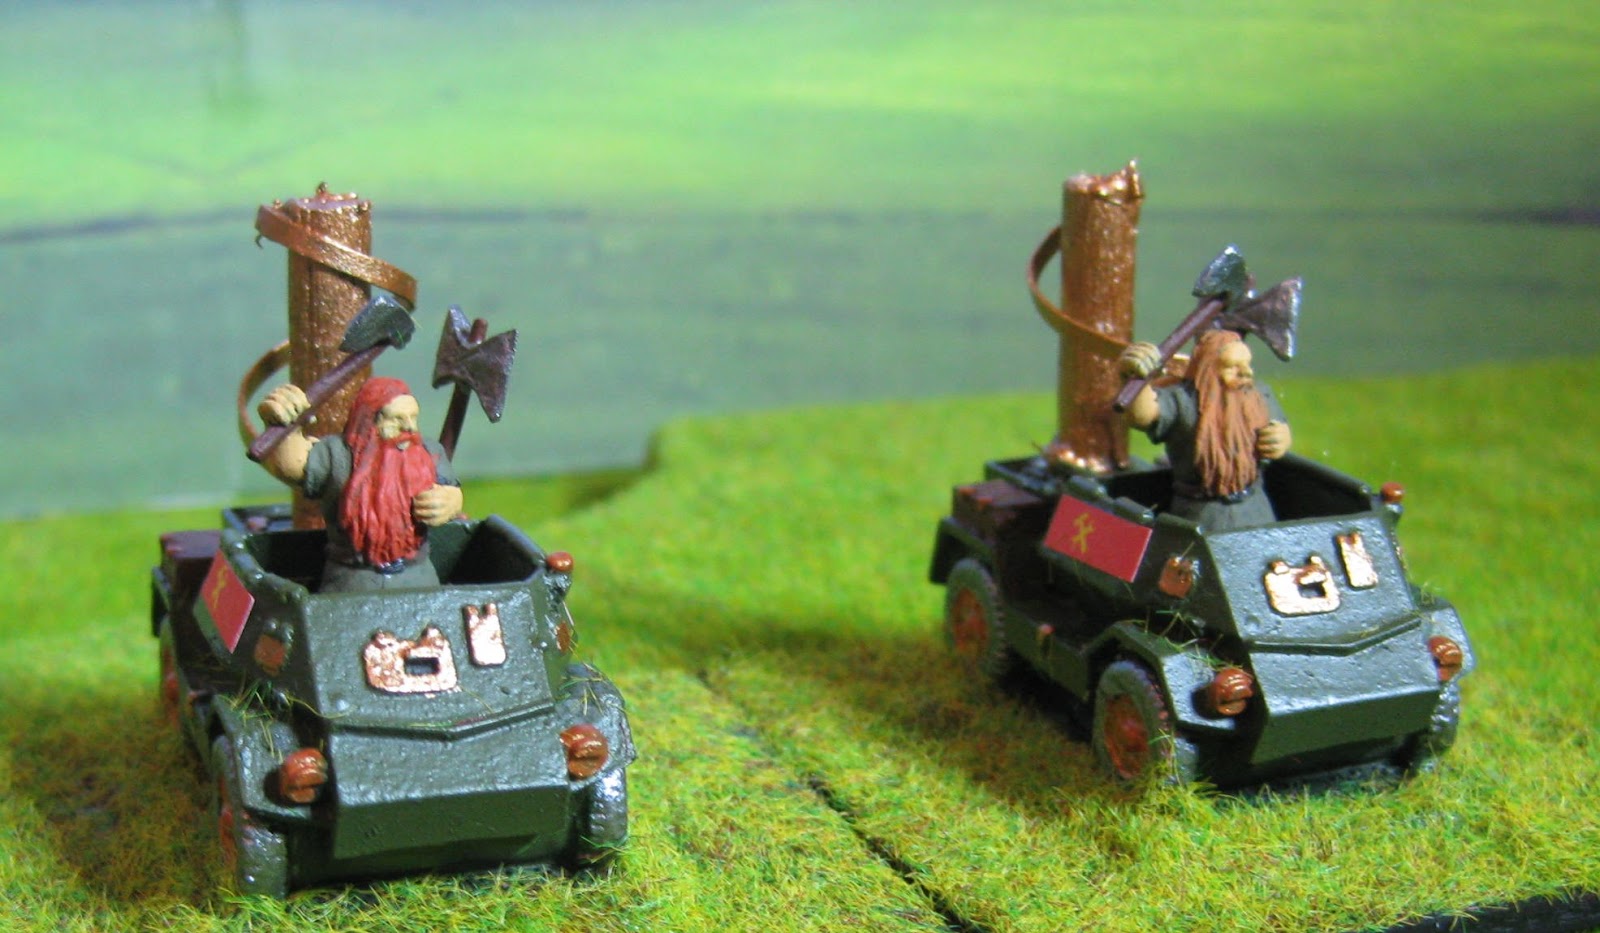
Two of the 3M vehicles
The Penal Battalion Force (hordes there are plenty more where they come from) - a steady Commissar is in the back to report on any failures.


Tuesday, 13 September 2016

19C - War of the Antipodes - Battle Report 2 - Battle of the cross roads

This is the second battle to test my new rules – 19C VSF. This is using Version 3 of the rules.

NSW and Victoria have both identified a small village at a cross roads as being vitally important for future operations.

Both armies are very similar in composition.

Infantry 4 Companies each. The NSW companies are slightly stronger but this is off-set by Victoria having an Armoured Infantry company.
Artillery 2 medium field guns each.
Cavalry 1 squadron each
Vehicles 2 heavy assault vehicles each. Kangaroos for NSW and Emus for Victoria.
Army Commander 1 reliable army commander each.

Starting positions and the lay of the land


NSW is coming from the right in red and Victoria from the left in blue.

Turn 1

There is no Line of Sight between the two armies, seemingly advancing unaware of each other. But something has alerted both armies and they race for the village. NSW has rolled higher and gets to move first.

The NSW cavalry rolled three action points and is able to nearly reach the cross roads on the first turn.

Not to be outdone, one of the Victorian infantry also rolled three action points and is also closing in on the village. Supported by an Emu that rolled two activation points, it is looking pretty even at the moment.

End of turn one

Turn 2

More moving by both sides as they advance on the cross roads.

The NSW cavalry reach the village but the rest of the forces are strung out down the road in a big traffic jam.

The Victorian infantry reach their side of the village, their cavalry swing round a hill to threaten the NSW column, and the two Emus take up positions on a small hill.

NSW looks like it may take a beating. Its only advantage is that the remaining Victorian forces are someway back while NSW are in a mass.

End of turn two


Turn 3

NSW move the troops to occupy one half of the village and to line the road to meet the coming Victorian attack.

Kangaroo I fires at Emu II. At short range it scores 8 hits but only 1 damage.
Victorians then return fire.

Emu II fires at NSW Infantry I. Emu II gets three activation points and therefore can fire all its weapons at once – a medium artillery piece and two Gatling guns. It scores 16 hits and inflicts 15 damage points. NSW infantry loses three bases and goes down to red reliability.

Emu I fires at Kangaroo I and scores 10 hits but only inflicts one damage point.

Victorian Cavalry fire at the NSW artillery and cause 2 damage.

The rest of the Victorian troops advance towards the battle.

End of turn three

Ground view from turn three. The Emus and Kangaroos tower over the other forces.


Turn 4

NSW Cavalry do a “shoot and scoot” after getting two action points and inflict 9 damage points on the Victorian infantry occupying the village section across the road.

The NSW infantry then come forward to occupy their side of the village.

The NSW infantry lining the road then blast at the Victorian infantry in the village and cause 16 damage point from a double firing having got 2 action points. The Victorian infantry is reduced to two bases and only yellow reliability.

The NSW army commander urges forward the remnants of the NSW infantry who close assault the remaining Emu. Both the infantry and the Emu inflict one damage each so the Close Assault is a draw and they stay in contact for the Victorian turn.

The NSW Kangaroos fire at the other Victorian Emu and together score 9 damage points causing the emu to be destroyed. A big setback for the Victorians.

The NSW artillery manages to get 3 action points and fires at the Victorian cavalry and causes 8 damage points reducing it by 2 bases.

Then it is the Victorians' turn.

The Emu blasts the NSW infantry causing them 3 damage points, and removing another base while only receiving one damage in return. The remaining NSW infantry retreat towards the safety of the wood.

Other Victorian troops consolidate as things look a little worse than last turn.


End of turn four


Turn 5

NSW seems to be gaining the ascendancy.

All the units with LOS of the last Emu fire at it and with 28 hits manage to cause 4 damage points which is enough to destroy it. The Victorian position is now looking shaky. 

The other NSW units start moving to consolidate their positions or to further threaten the Victorians. 

The NSW cavalry move round the left flank to threaten the Victorian rear. This forces the Victorian to reposition some of their artillery.

The remaining Victorian artillery firing down the road target one of the Kangaroos and get three action points. But from the resulting 12 hits only cause three damage points.

The remaining Victorian infantry and cavalry hide in the village or behind the slopes of the hills to get out of the line of fire.

End of turn five


Turn 6 and turn 7

NSW starts to advance cautiously, making sure all the units have sufficient support and more than enough firepower to destroy the Victorians unit by unit.

With the Victorians on the outer arc and NSW on the inside, NSW has the ability to concentrate on any part of the Victorian defence and overwhelm it.

The Victorian commander decides that a nasty loss is better than a heavy defeat and starts to withdraw his forces back towards their line of communications using the artillery as a base to cover his withdrawal. The NSW commander has no wish to send his forces into the fire of a ready and vengeful defender and lets the Victorians go.


End of turn seven

Ground view of the battlefield as the thin red line advances

Some changes to version 3 of the rules. 

The saves for the Emus and Kangaroos was changed from a 2 to a 3 making them easier to damage before the battle as otherwise they would be nearly impossible to destroy. With a save of 5 armoured infantry are not significantly different to normal infantry so I am going to change this to a save of 4 in Version 4. 


Tuesday, 6 September 2016

19C – War of the Antipodes - Battle Report 1 - Supply Depot

This is a battle to test my new rules – 19C VSF. This is using Version 2 of the rule. I ran the same battle

using Version 1 but there were a few "issues".

NSW has established a small supply depot in a small village on the railway line.

Guarding the supply depot is a small detachment of NSW militia consisting of 1 Medium Artillery Piece, 1 Gatling gun, 2 Infantry Companies and a Squadron of Cavalry in reserve.

The Victorians plan to take the station and its treasure of military supplies for themselves. To do this they allocate 3 Infantry Companies, 1 Cavalry Squadron, 2 Medium Artillery pieces and 2 Gatling Guns.

Who is who and where is that.


Turn 1

At the end of the first turn the Victorians have advanced to start their assault. NSW has responded by bringing all their infantry to fighting positions in the buildings. Their Cavalry is racing around the right flank to reinforce their most exposed position.


End of first turn

Turn 2

At the end of turn 2 the Victorian assault on the NSW position in the farm outside of the town has been repelled with significant casualties on both sides. Will the Victorians be able to renew their assault? And if so, will the NSW forces be able to stop it again?

The Victorian artillery has opened up a barrage on the NSW artillery and destroyed it. NSW got in a few shots but were quickly outgunned by the superior Victorian artillery.

The third Victorian Infantry company and the Victorian cavalry move closer to the main town.
At the top the NSW cavalry moves over the railway line to assist their comrades.

End of second turn

Turn 3

The Victorian Army Commander moves to rally his two infantry companies and gets one to assault the farm again. This time the NSW defence crumbles and retreats. The other Victorian infantry company advances forward to occupy the farm.

The Victorian artillery opens up on the NSW Gatling Gun and it too is destroyed.

The rest of the Victorian forces move up for the final assault on the NSW town. The Infantry in the town blast the advancing Victorian infantry and decimate them leaving only a few survivors who flee backward.

The NSW Cavalry moves to counter attack at the farm. Maybe this can save the day for NSW but things are looking grim.

End of third turn


Turn 4

The Victorians advance for the kill but NSW is not finished yet. The Victorian cavalry see what happened to the infantry and retreat out of close range so that the town can be softened up by the supporting artillery.

The NSW cavalry lines up and prepares to charge the Victorian infantry occupying the farmhouse.
The Victorian general sends one of his diminished companies towards the town to grab the supplies and arranges his Gatling guns to support the farm house defenders.

End of fourth turn


Turn 5

The Victorians continue their advance on the Supply depot. The artillery have hit the defending infantry hard and the Victorian cavalry advances again.

On the other side the NSW cavalry moves forward to close assault the farm house.

End of fifth turn


Turn 6

The NSW defenders in the town loose another base from the cavalry’s fire. The Victorian infantry approach the supply depot and nothing seems likely to stop them.

But the NSW cavalry have routed the Victorian infantry in the farmhouse and now fully occupy it. But in response the Victorian general is pivoting his artillery to target them.


End of sixth turn

Turn 7

The NSW Cavalry still hold the farmhouse but the Victorians have got their artillery aimed at them. The Victorian infantry have entered the town and started to capture the supply depot. The Victorian cavalry continue blasting the remaining NSW infantry defenders who are pretty helpless as their effectiveness has been reduced by significant losses.

End of seventh turn


Turn 8

Game over. NSW has only the cavalry squadron as a viable force and the Victorian infantry have captured both supply depots – with victory in sight they rolled a double activation and were able to move twice. A win for Victoria as NSW sounds a general retreat. Still there were a lot of casualties for the Victorian attackers and the victory is hard won.

Last turn and somewhat blurry photo.


All in all not to bad and the result I expected. The more numerous and better trained Victorians won the day but not without some significant losses. Could have been different if NSW had concentrated all their troops in the town and had more time to fire at the advancing infantry.