Part 3 of my campaign set in my post apocalyptic world of 2500AD. The Zombies of Russia periodically rise up and batter their way through eastern Europe intent on devouring the rich pastures of western Europe.
The campaign will involve four battles, all using the One Hour Wargames rules for Pike and Shot as adapted for Zombies and appropriate scenarios to build a narrative. Basically it will let me play with the three armies I have painted.
Following the Zombie victories in part 1 & 2 the Medieval forces need to stop the Zombie menace.
The Medieval forces have the technology to produce armour that can stop zombies biting them and turning them to zombies. This stops their casualties becoming part of the problem. They have primitive guns and can run out of ammunition. Not all the Medieval forces are armoured, so these have to be protected in walled cities or hastily prepared field fortifications.
Narratively this battle in the campaign is to stop the zombie hordes destroying these lands.
15: Fortified Defence - stop the Zombies occupying the two towns by the end of the game.
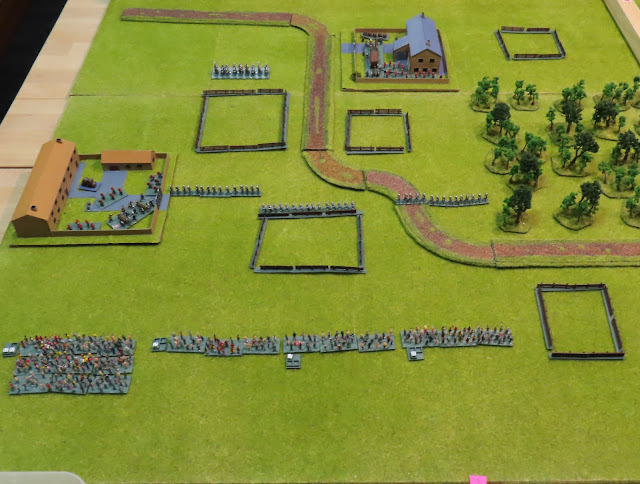
There are two fortified towns in this scenario represented by walled buildings. The Zombies need to take both by the end of the game. However, both towns also come with additional fire power in the form of artillery that can engage in fire and close combat. The Medieval forces can locate one unit in each town, when that unit is destroyed the artillery is automatically destroyed as well. Units are destroyed when they reach 15 casualties.
Human units that have reached 9 or greater casualties must roll a morale die each turn. If the total of their casualties and the die roll equals or exceeds 15 they must retreat one full move.
Once during the game the Zombies can remove any remaining units of their army and replace them with a complete new set of 6 units of zombies on their start line.
I have added additional scatter terrain in the form of fenced fields and a road to the board. These have no impact on the game and are their to make it look better as the OHW setups can be quite bare. Realising that the fields are not that interesting without anything in them I have created additional terrain for the next game.
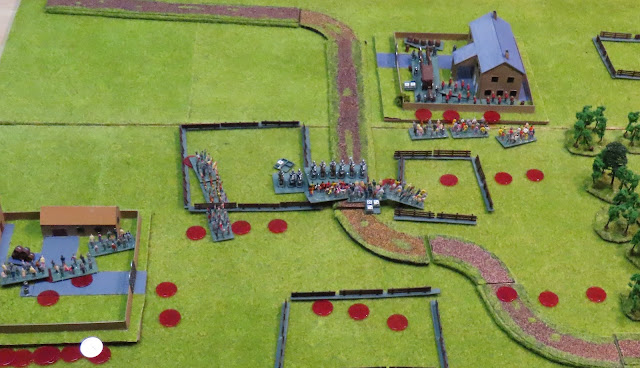
When a unit is destroyed, I will show it by placing a red counter for each base.
On to the battle.
 |
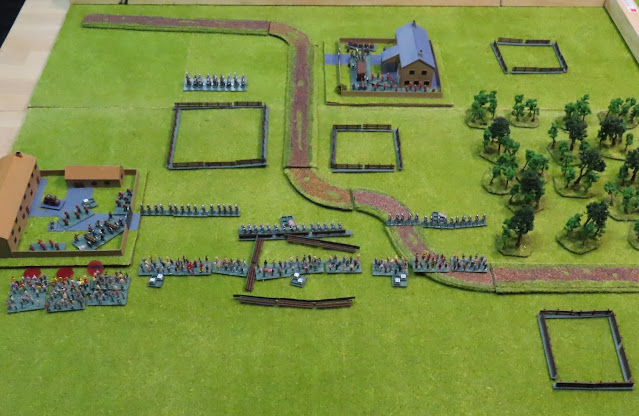
| End of turn 3 - The zombies have contacted the human line and inflicted casualties but all have received significant casualties themselves. |
 |
| End of turn 13 - The knights have retreated in the center having received 13 casualties. At the wall the humans bravely fight on with the zombies now at 14 casualties against 6 for the humans. |
 |
| End of turn 14 - It looks like the humans will hold on. The zombies at the wall have been destroyed. The human defenders have 8 casualties and the zombies only have one more turn. |
 |
| End of turn 15 - the zombies have lost! |
Figures:
Medieval figures are from Pendraken
Zombies are N scale railway people from Aliexpress. They come painted, all I had to do was base them and add some red. This is a very quick and cheap way of creating a zombie horde. Not as good as Pendraken's but much easier to get the mass.
The town buildings are made by me, originally for my VSF War in the Antipodes.
Onto the final part of the campaign where the Zombies fight the later Medieval tech humans who are performing a courageous last stand.


Finally the zombie horde has been stopped.
ReplyDeleteFor now.
Seems like zombies and artillery don’t mix well. 😀
I might of missed it, but what are all the red dots littered everywhere?
The Artillery's extra fire really helped the defenders and zombies don't like it because they can't eat it. 😁
DeleteYou didn't miss it Stew. Red dots are where a unit has been destroyed. One dot for each base. I will update the post.
Thanks
I didn't just miss an explanation of the red dots, Ben - I missed the whole post! Just saw part 4 and thought "When did part 3 happen?" - so now, I know!
ReplyDelete